
Solar on a Flat Roof: Tilt, Row Spacing and Usable Roof Area
Plan solar on a flat roof by comparing tilt, row spacing, roof structure, drainage and maintenance access before choosing a mounting arrangement.
Plan solar on a flat roof by comparing tilt, row spacing, roof structure, drainage and maintenance access before choosing a mounting arrangement.

A flat roof gives a solar designer options, but tilt frames are not automatically the right answer. The best arrangement must fit the structure, preserve roof function and make sensible use of the available area.
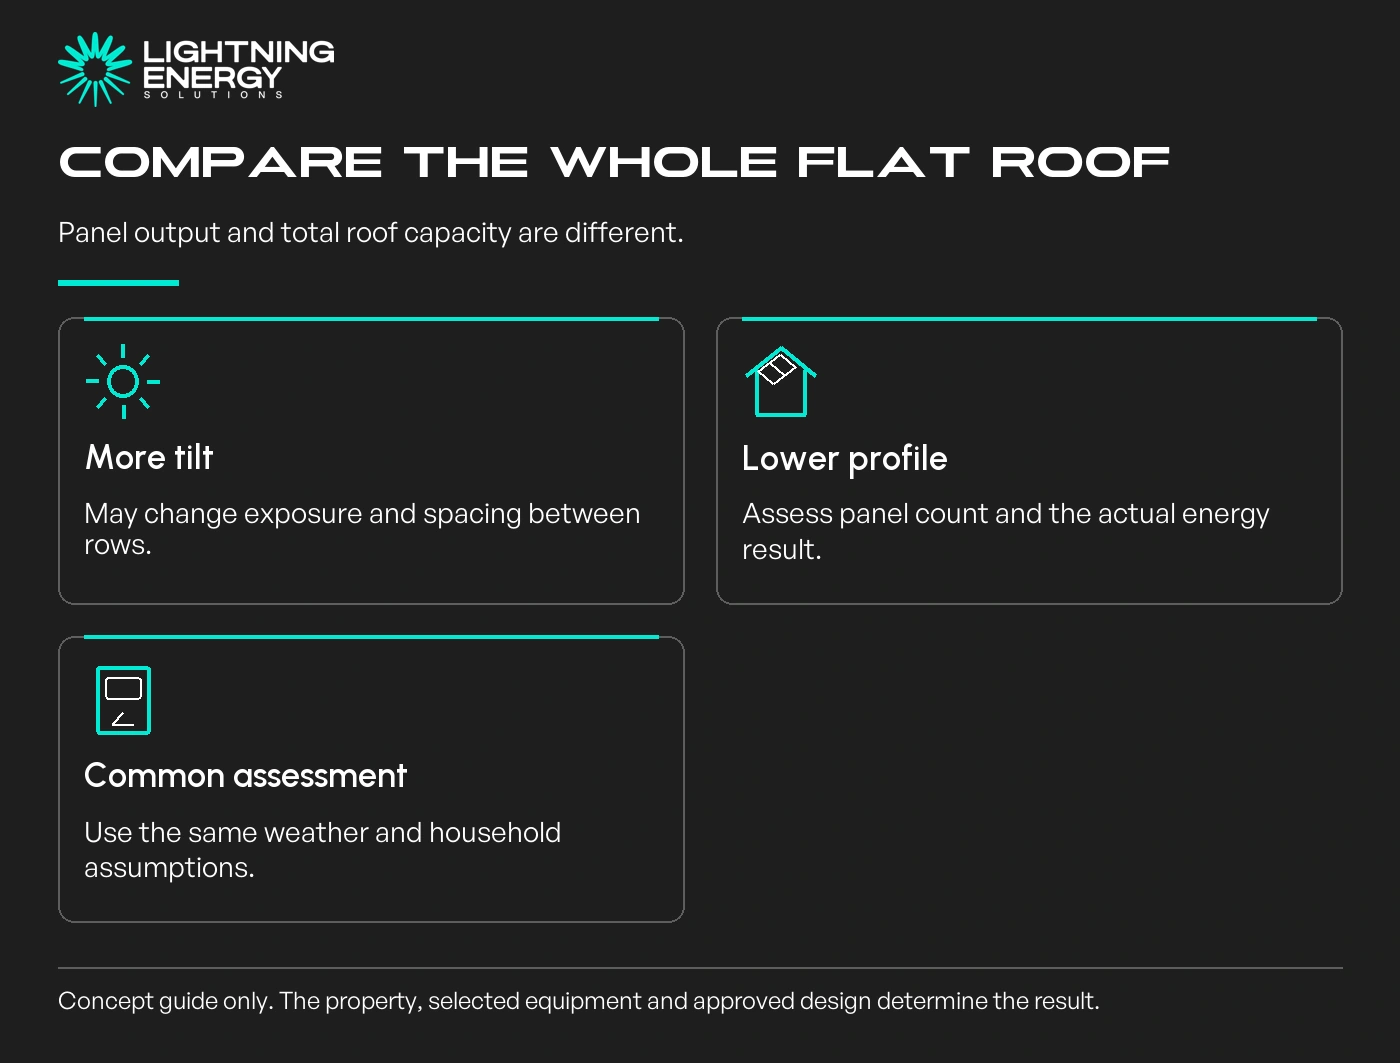
Compare the whole roof rather than the output of one tilted panel. An arrangement that improves each panel’s exposure may also require space between rows and change how many panels fit.
Begin with a site-specific solar design, including the roof material, condition and access requirements.
Ask for drawings of the supported alternatives. These might have different panel angles, orientations or mounting approaches, but they must reflect the roof you actually have.
The Government design guide explains the trade-off between tilted rows, shading between rows and usable roof area.
Government flat-roof design guidance.
Imagine an illustrative comparison between a more tilted layout with fewer panels and a lower-profile layout with more. Neither wins simply from its tilt angle or panel count.
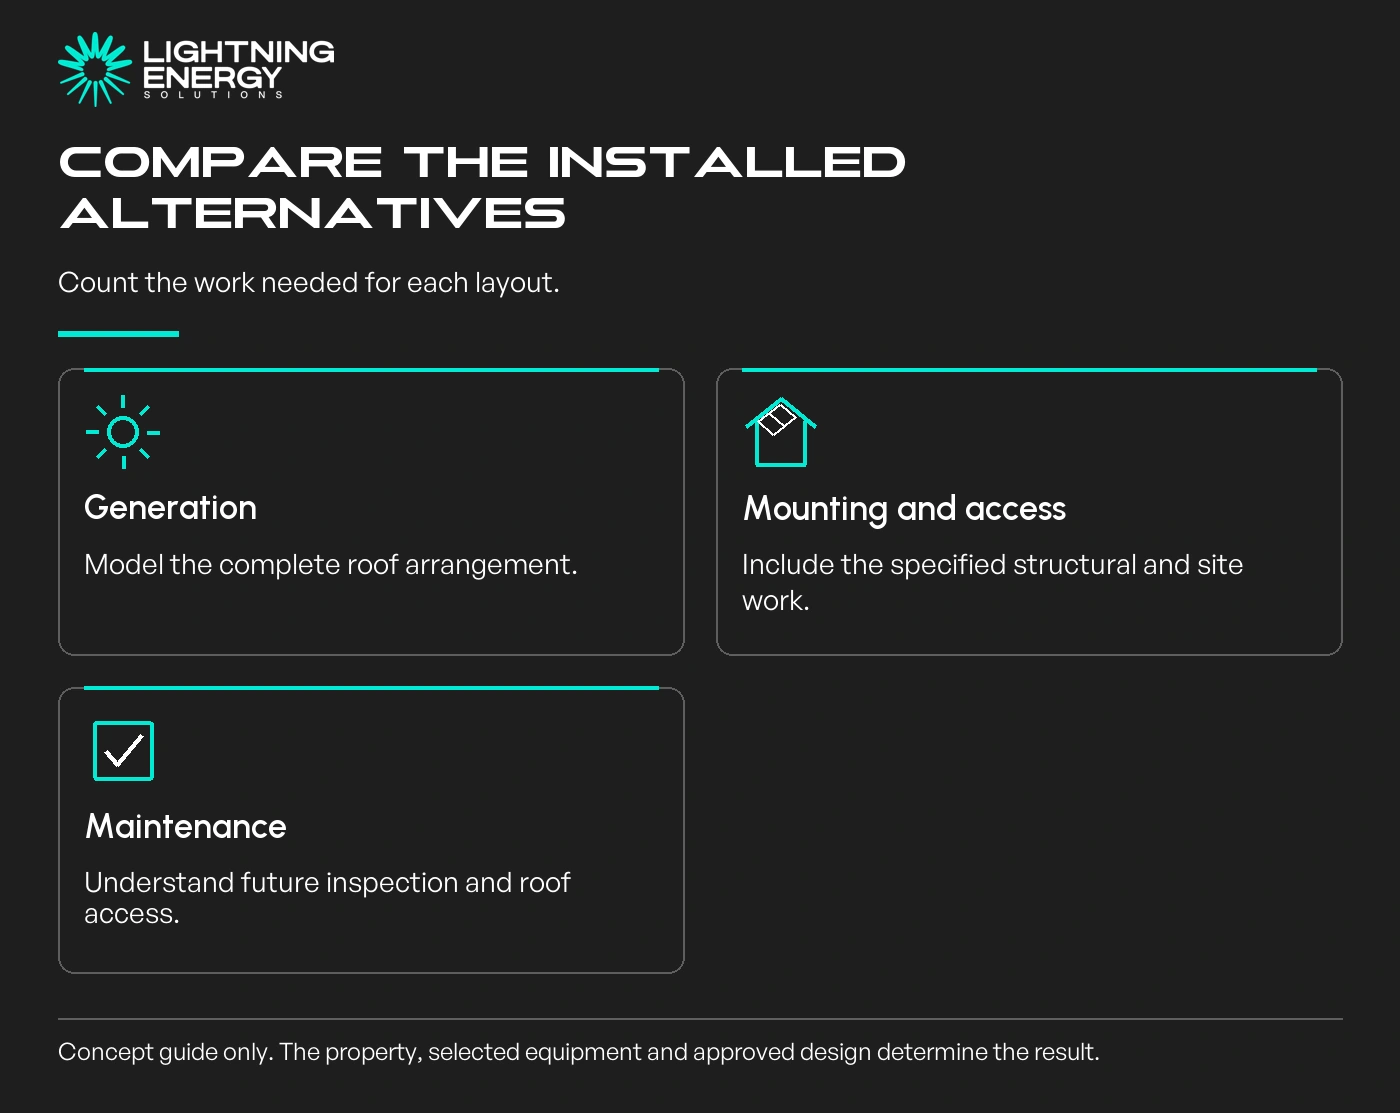
Request annual and seasonal generation estimates for the complete layouts, using the same weather assumptions. Keep maintenance access and any shading allowances visible on both drawings.
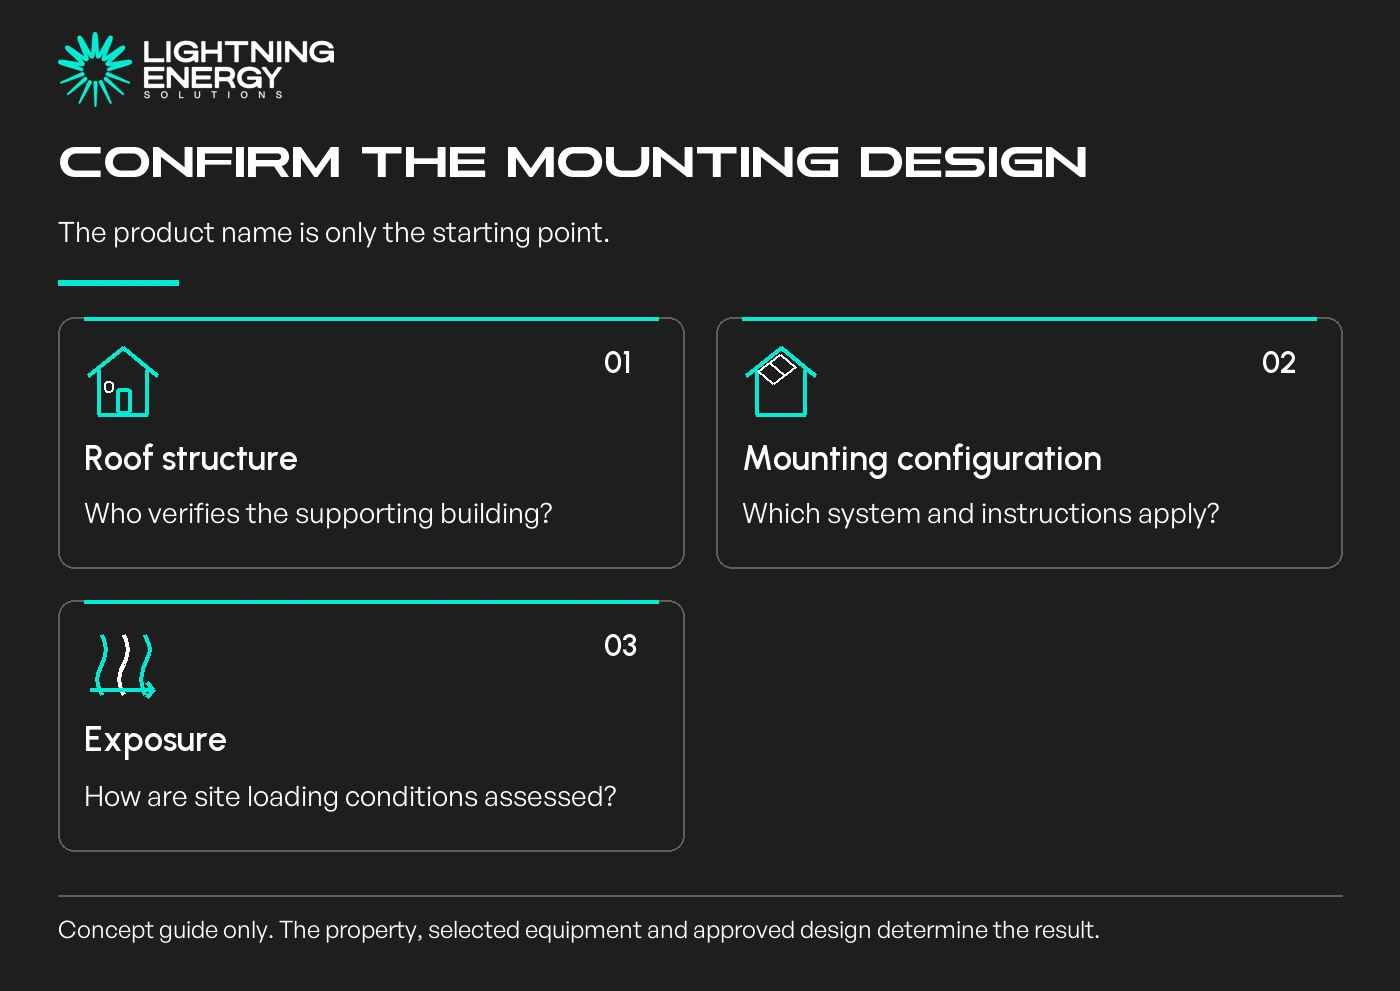
Ask which mounting system is specified and which instructions apply to the roof and proposed configuration. Wind exposure, structure and attachment requirements need professional assessment.
Clenergy’s Australian product information separates mounting arrangements and provides guidance for different roof and tilt systems. That illustrates why a generic racking label is insufficient.
Clenergy Australian SolarRoof information.
Do not interpret the availability of a mounting product as confirmation it suits your building. Request the design basis and ask who is responsible for checking the supporting roof structure.
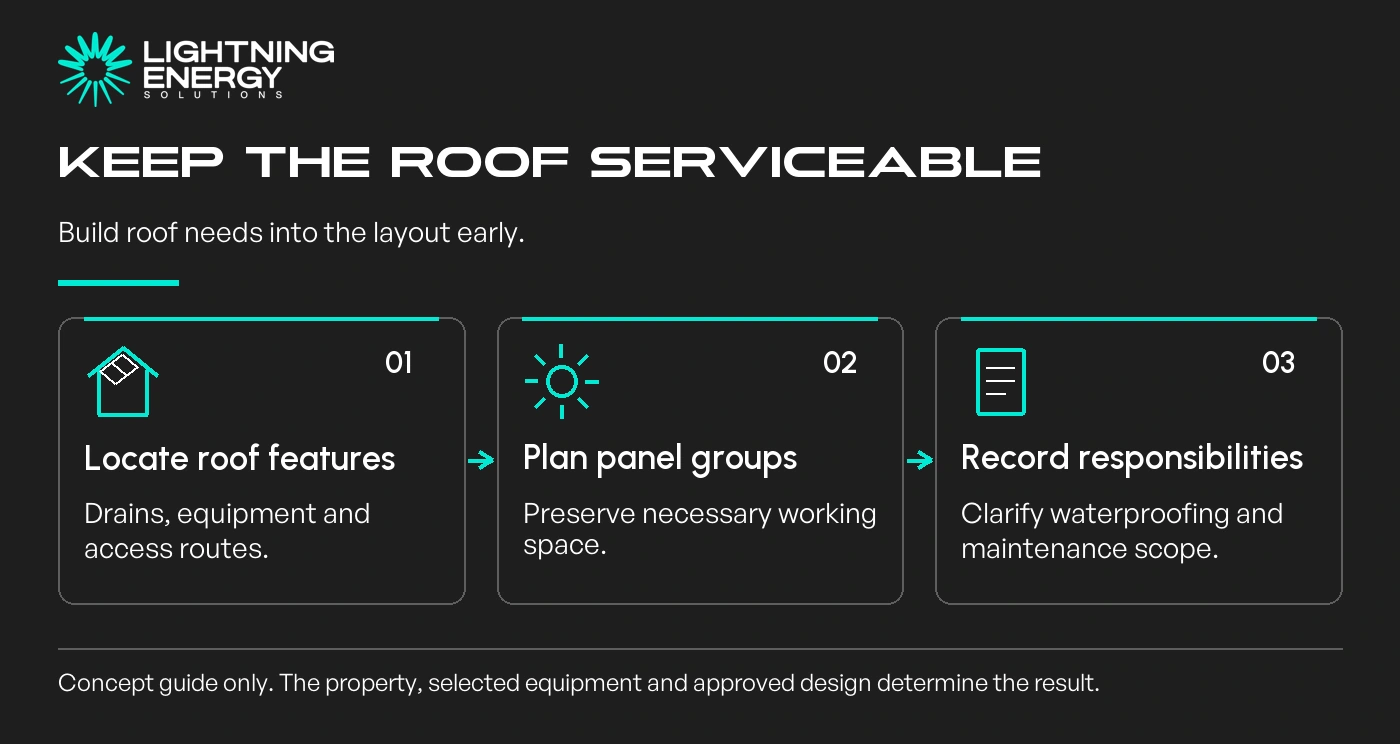
Mark drains, gutters, roof equipment and the routes needed to inspect or maintain them. Panels should not make an ordinary roof issue unnecessarily difficult to investigate.
For a membrane roof, ask how waterproofing responsibilities are handled. If ballast is proposed, the additional load still needs assessment; avoiding a penetration does not remove structural questions.
Our roof replacement planning guide is useful if roof work and solar need to be coordinated.
Agree how maintenance access is preserved and where records of the mounting and waterproofing work will be kept. Those details matter long after the installation photographs are taken.
The price comparison should include mounting, structural work if required, access and electrical design. A panel-only price does not capture the differences between roof layouts.
Check the solar cost guide when comparing those inclusions. Ask whether the quote remains provisional until the roof assessment is complete.
Consider practical cleaning and inspection requirements using the panel and mounting instructions. Do not choose an angle from a universal cleaning rule or assume rainfall makes all maintenance unnecessary.
Do not pay for a more elaborate frame unless its useful benefit and suitability are clear. Equally, do not squeeze additional panels into a drawing by ignoring row shading, access or roof constraints.
If the roof needs repair, resolve that first. Solar should be designed around a serviceable building, not used as a reason to postpone roof problems beneath new equipment.
Contact Lightning Energy with the roof drawings and any building records. Request supported layout alternatives and a clear explanation of the structure, access and generation trade-offs before selecting the mounting.
Available times
Book a consultation and we'll map solar, storage, hot water, and the rebates around your bills and your goals.
Question 1 of 6